
Create Stunning Aura Gel X Nails
Want to create elegant Aura Gel X nails at home without using a drill?
This beginner-friendly nail tutorial covers nail preparation, Gel X application, and a beautiful aura nail design created using eyeshadow.
The best part is that anyone can recreate this look, even if it’s their first time doing Gel-X nails.
Start With Nail Preparation
The first step is preparing your natural nails.
Begin by shaping your nails with a file, paying special attention to the sides.
This helps the Gel X nail tips fit more comfortably and naturally later.
Next, apply a cuticle remover gel to soften the cuticles.
Once softened, gently push the cuticles back to create a clean nail surface.
Choose the Correct Gel X Nail Tips
Select the Gel X nail tips that best fit your natural nails.
For this look, medium stiletto soft gel tips are used.
Check each nail individually and ensure the tip fits properly without putting pressure on the sides of the nail.
A good fit helps create a more natural-looking manicure.
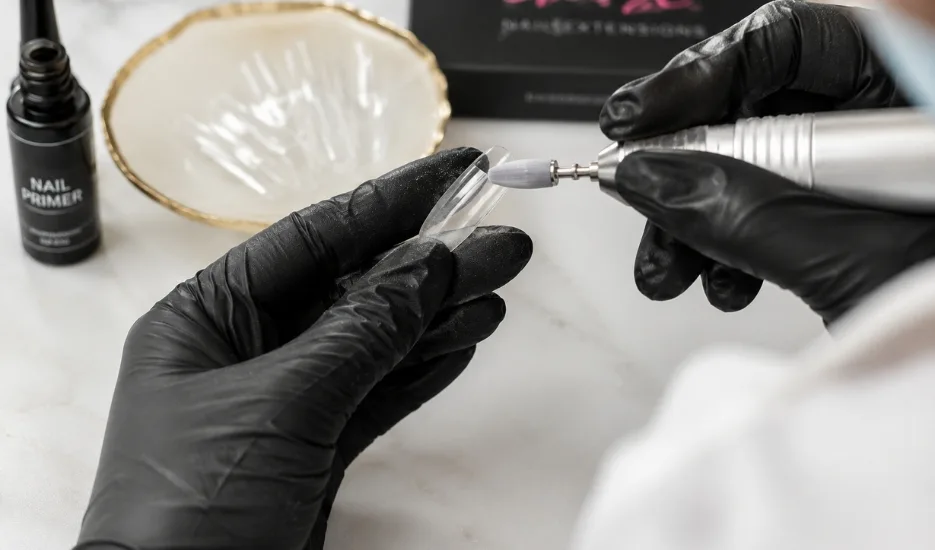
How to Prepare Gel X Nail Tips
There are two ways to prepare Gel-X tips:
Using a Nail Drill :- Using a nail drill with a small bit on a low speed, gently roughen the inside of each nail tip.
This creates additional grip and helps improve durability.
Using a Tip Primer :- If you do not have a drill, a nail tip primer can achieve a similar effect.
Apply a small amount and rub it into the inside of the tip until it becomes slightly tacky.
Once tacky, the nail tip is ready for application.
Prepare Your Natural Nails
Before applying the Gel-X tips, prep your natural nails.
Apply a dehydrator to remove oils and moisture from the nail surface.
Then apply the same tip primer used on the nail tips.
These preparation steps help create a stronger bond and support long-lasting wear.
Applying the Gel X Nail Tips
Apply soft gel tip adhesive inside the Gel X nail tip.
Coat the tip evenly and place a small amount of product near the cuticle edge.
Position the tip a few millimeters away from the cuticle and gently press downward until the adhesive fills the entire nail.
Flash cure once the placement looks correct.
Remember, nothing is permanent until curing. If too much or too little product is used, simply remove it and try again.
Patience and practice help make the process easier over time.
File and Blend the Nail Tips
After all nails are applied, cure them fully in a larger lamp.
Next, file around the cuticle area and blend the nail tip into your natural nail.
You can use either a nail drill or a hand file.
The goal is to create a seamless transition that looks and feels natural.
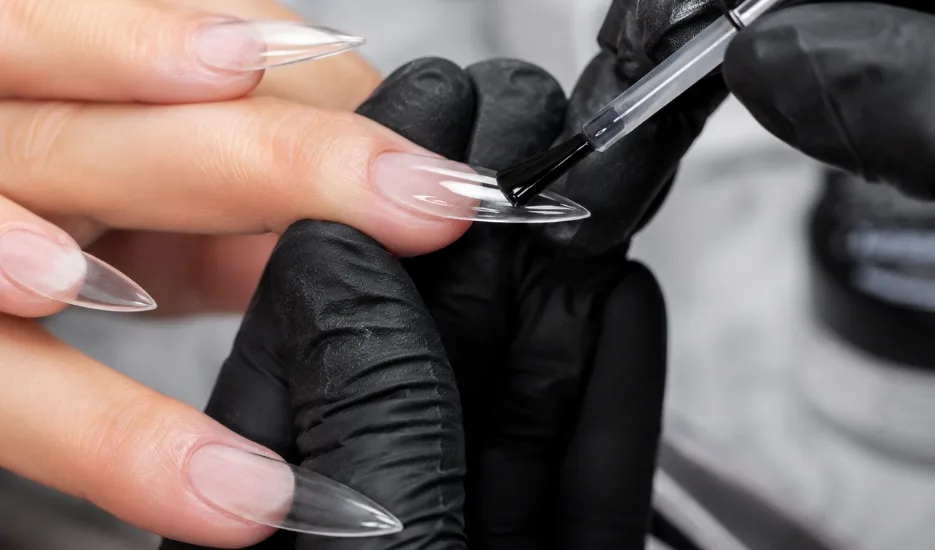
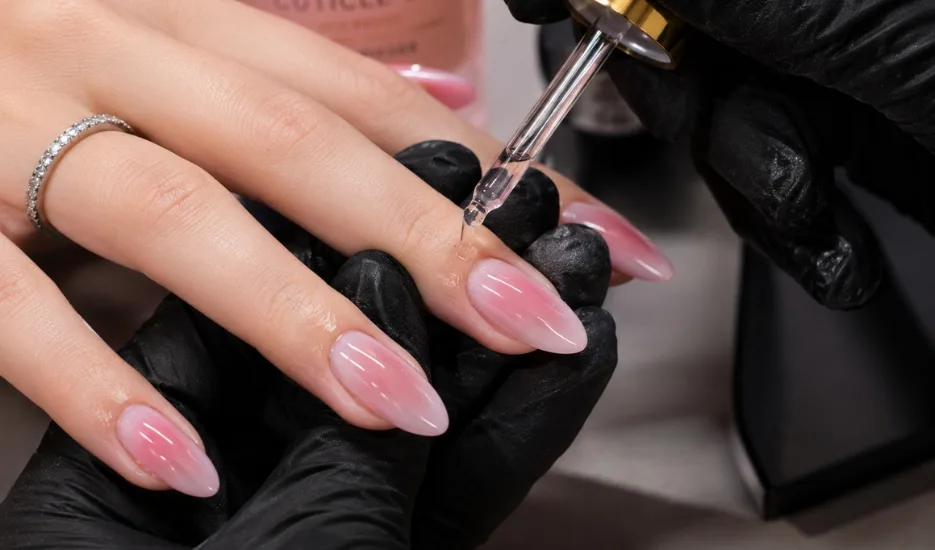
Apply the Base Coat
Clean the nails and apply a base coat.
Focus on covering the area where the Gel-X tip meets your natural nail.
This helps create a smooth finish and makes the extension appear like part of your own nail.
Apply the Base Color
For the base shade, apply a soft nude or creamy pink gel polish. Apply two thin coats for full coverage.
Allow each layer to cure completely before applying the next. The soft pink base creates the perfect foundation for the aura design.
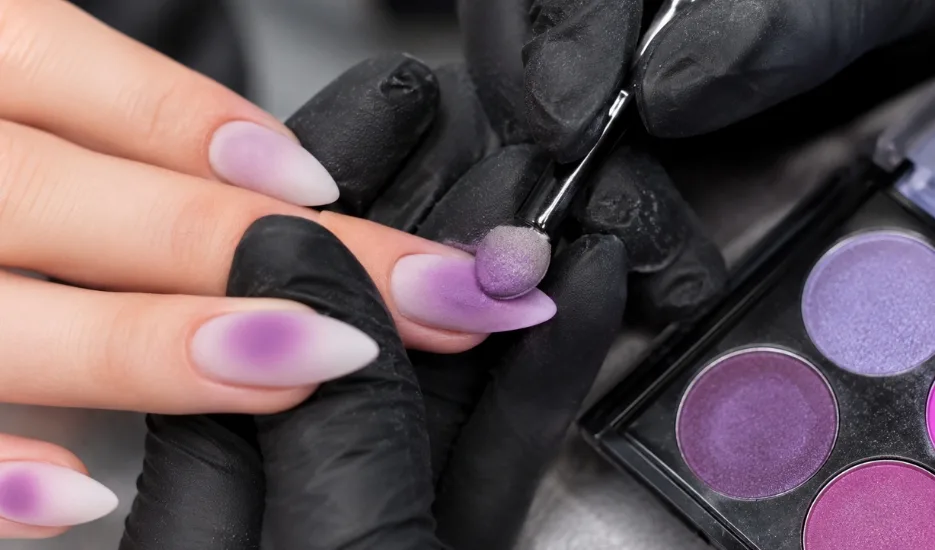
Create the Aura Nail Effect With Eyeshadow
To achieve the aura effect, apply a matte top coat first. The matte surface helps the eyeshadow blend more smoothly and evenly.
Using any eyeshadow palette, gently apply color to the center of the nail. Build the color gradually until you achieve the desired effect.
The key is starting lightly and layering slowly.
Seal the Aura Design
Once you’re happy with the aura effect, apply a non-wipe top coat.
Work gently to avoid disturbing the eyeshadow underneath.
A smooth layer of top coat will seal the design and restore a glossy finish.
Add Nail Charms for Extra Detail
For additional decoration, apply nail charms using the same adhesive used for the Gel-X tips.
Place the charms where desired and cure them securely.
Once finished, apply another thin layer of top coat around the charms for extra durability.
Finish With Cuticle Oil
The final step is cuticle oil.
Apply cuticle oil around each nail and gently massage it into the skin.
This helps restore moisture and gives the manicure a healthy, polished appearance.
Why This Aura Nail Design Is Perfect for Beginners
This design is beginner-friendly because:
- No complicated nail art tools are required
- Eyeshadow blends easily
- The aura effect is forgiving
- No nail drill is necessary
- The look is elegant and customizable
The eyeshadow application also makes the process fun and relaxing while creating a professional-looking result.