
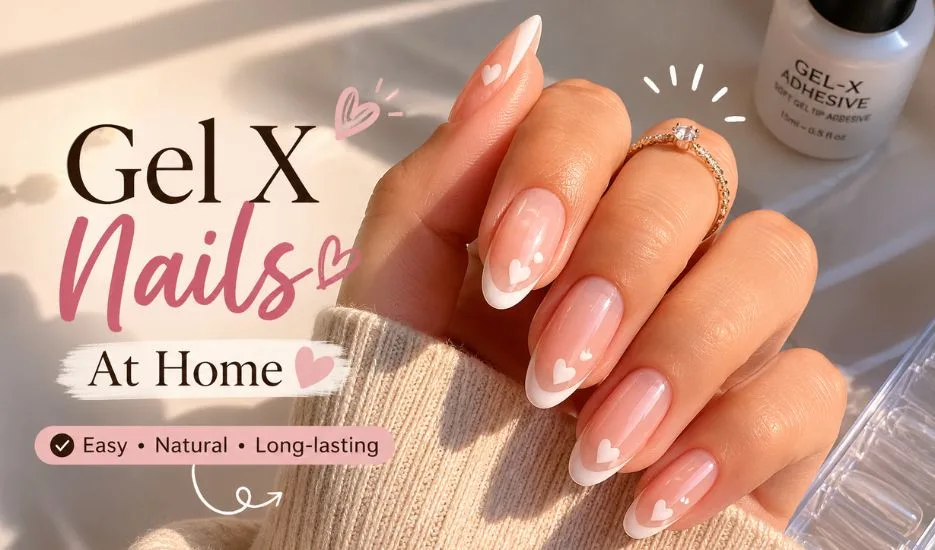
Gel X Nails At Home
Want to create adorable Valentine’s Day French Tip Heart Nails at home without using a drill?
This beginner-friendly Gel X nail tutorial walks through gentle nail preparation, easy Gel X application, and a cute heart nail design that is simple to recreate, even if it’s your first time doing Gel-X nails.
What You’ll Need for Nail Prep
Before applying Gel-X nails, proper nail preparation is important for long-lasting results.
You’ll need:
- Nail file
- Cuticle remover gel
- Cuticle pusher
- Cuticle cutting tool
- Nail cleanser
Start by filing your nails, focusing especially on the sides. This helps the Gel-X nail tips fit more easily later.
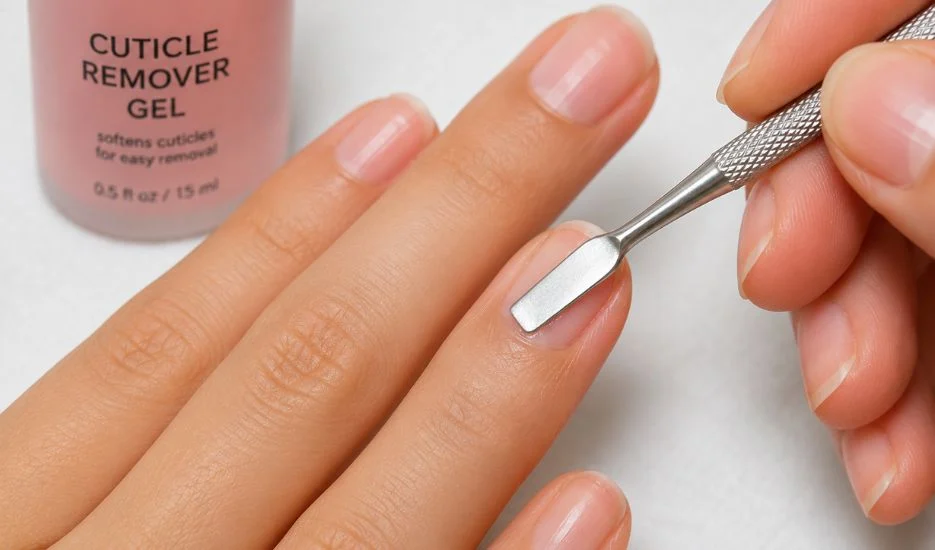
Prepare Your Cuticles
Apply the cuticle remover gel and allow it to soak in.
Once the cuticles become soft, gently push them back using a cuticle pusher. This step should feel easy and comfortable.
If any cuticle remains, carefully remove it using the cutting tool.
Afterward, clean the nails thoroughly using a nail cleanser.
Measure the Gel-X Nail Tips
Choose Gel-X nail tips that fit each nail properly.
Go through your nails one by one and check the fit. If adjustments are needed, lightly file the edges of the nail tips until they fit comfortably.
A proper fit helps create a more natural and long-lasting result.
How to Prepare Gel-X Nail Tips Without a Drill
If you do not have a nail drill, a tip primer can help prepare the Gel-X tips.
Apply a small amount of primer to each nail tip and rub it in until the surface becomes slightly tacky.
Once the tip feels tacky, it is ready for application.
Prepare Your Natural Nails
Before applying the Gel-X tips, prepare your natural nails.
Start with a dehydrator to remove excess oils and create a clean surface.
Next, apply the same tip primer used on the Gel-X tips directly to your natural nails.
These preparation steps help improve durability and can contribute to longer-lasting nails.
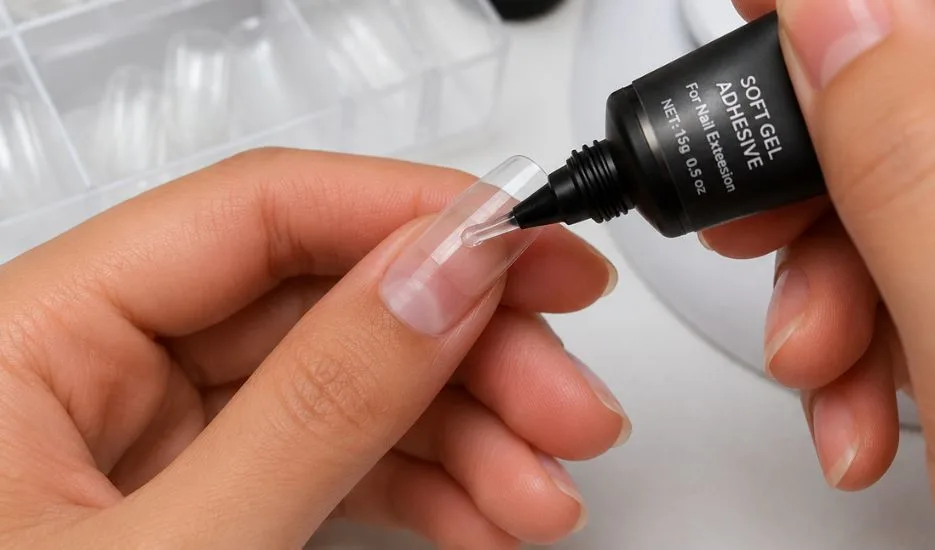
Applying the Gel X Nail Tips
Apply soft gel tip adhesive to the Gel-X tip.
Place the tip a few millimeters away from the cuticle and gently press it down until the adhesive covers the entire nail.
Once positioned correctly, cure the nail.
Take your time during this step. Gel-X application can feel challenging at first, but patience and practice help improve results.
Shape and Blend the Gel-X Nails
After curing, cure once more in a larger lamp if needed.
Then begin refining the nails by filing around the cuticle area.
Focus on creating a seamless transition between the Gel-X tip and your natural nail so everything appears smooth and natural.
Lightly file the top surface to create a slightly rough texture for the next products.
Apply the Base Coat
Apply the base coat carefully, paying special attention to the small gap between the cuticle area and the Gel-X tip.
This helps create a seamless finish and may help reduce lifting.
Once complete, cure according to product instructions.
Add the Base Color
For the base color, apply a sheer pink shade.
Apply the first coat evenly and cure.
Repeat with a second coat to build a soft and elegant pink finish.
This creates the perfect base for the Valentine’s Day design.
Create the French Tips
Using white gel polish, carefully paint the French tips.
Work slowly and create clean smile lines across each nail.
The classic French tip design pairs perfectly with the heart accent details.
Create the Heart Nail Design
Using red gel nail art polish, paint two curved lines that meet at the bottom to form a heart shape.
Repeat on the desired nails.
This design is simple, fun, and beginner-friendly while creating a cute Valentine’s Day look.
Apply the Top Coat
Before applying top coat, wipe away any remaining color transfer if necessary.
Once the nails are clean, apply a non-wipe top coat to seal the design and create a glossy finish.
Cure thoroughly.
Finish With Cuticle Oil
The final step is cuticle oil.
Apply cuticle oil around each nail and gently massage it into the skin.
This helps nourish the cuticles and gives the manicure a polished, professional appearance.
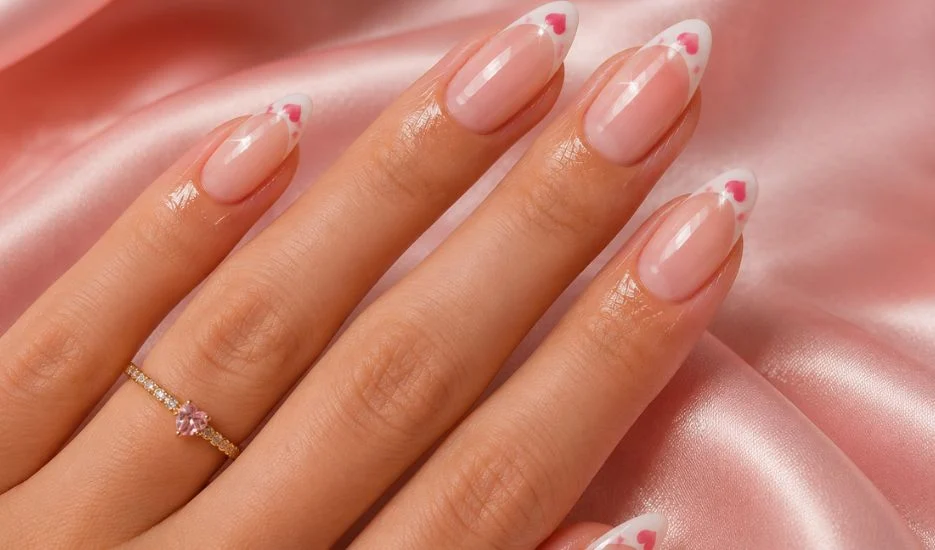
With soft pink nails, classic French tips, and adorable red hearts, this Valentine’s Day nail design is both elegant and fun.
The step-by-step process makes it easy for beginners to achieve long-lasting Gel-X nails at home without using a drill.