
Halloween Gel X Nails
Halloween nail design It’s fun and very easy to recreate, and the entire process can be done without using a drill.
From preparation and application to the final spooky design, this beginner-friendly Gel X tutorial will help you create cute Halloween nails that last for weeks.
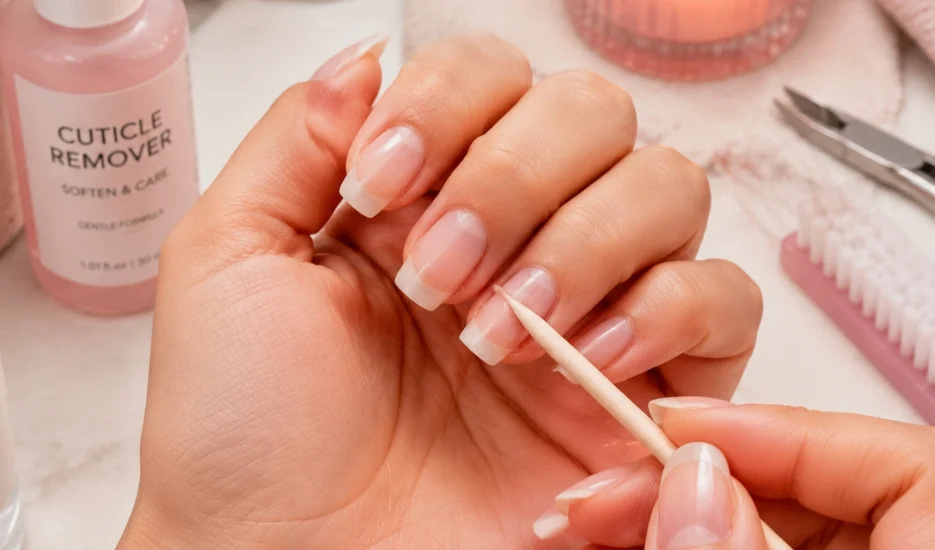
Prepare Your Natural Nails
For this set, the natural nails are kept longer to allow them to grow naturally, so only the edges are filed to achieve the desired shape.
Once the shape is perfect, apply some cuticle remover and let it soften the cuticles before gently pushing them back.
Always be very gentle during this step to avoid hurting yourself.
After the cuticles are done, clean the nails thoroughly with nail cleanser.
Measure And Prepare The Gel X Tips
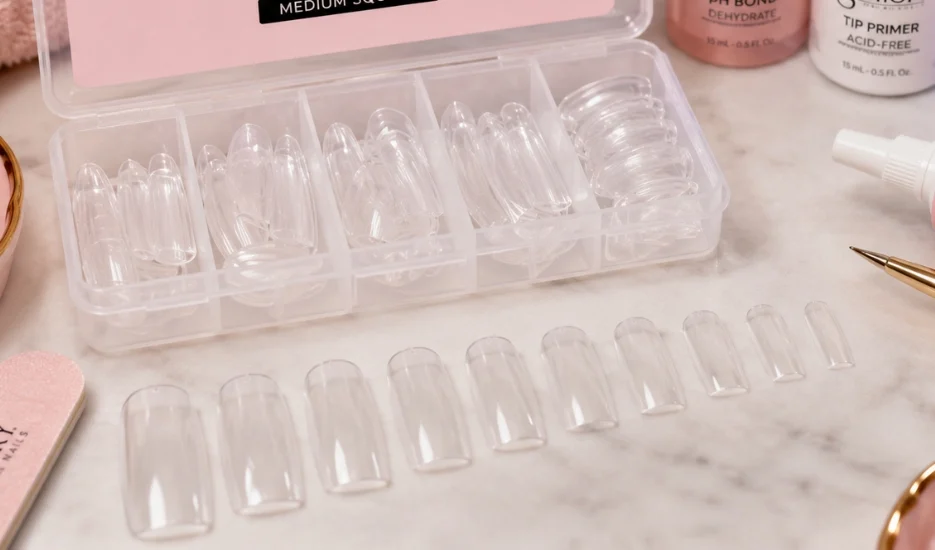
The Kiara Sky Gel X nail tips in medium square are used for this design.
These tips are beginner-friendly and easy to work with.
Once all the tips are measured and lined up, apply the Gelish Tip Primer.
This helps prepare the tips and creates a tacky surface so they can last up to five weeks.
Prepare Your Natural Nails For Application
Before applying the tips, use the Gelish pH Bond to remove any oils from the natural nails.
Then apply the Gelish Tip Primer to create the perfect grip and help the Gel X tips stay in place without lifting or breaking.
Proper preparation is the key to long-lasting nails.
Apply The Gel X Nail Tips
The Gel X tips are applied using Gelish Gel Tip Adhesive and a flash cure lamp.
Since the natural nails are slightly longer, more adhesive is needed to fully cover the nail and ensure a secure hold.
Carefully place the tip a few millimeters away from the cuticles and gently press down until the entire nail is covered.
Once everything looks even, flash cure the nail.
Finding the right amount of gel adhesive takes practice, especially if your natural nails are longer.
Create A Seamless Base
After all the tips are applied, use a base coat to blend everything together.
Pay special attention to the small gap between the cuticles and the Gel X tips.
This helps create a seamless, natural appearance and makes the nails feel like one complete surface.
Apply The Base Colors
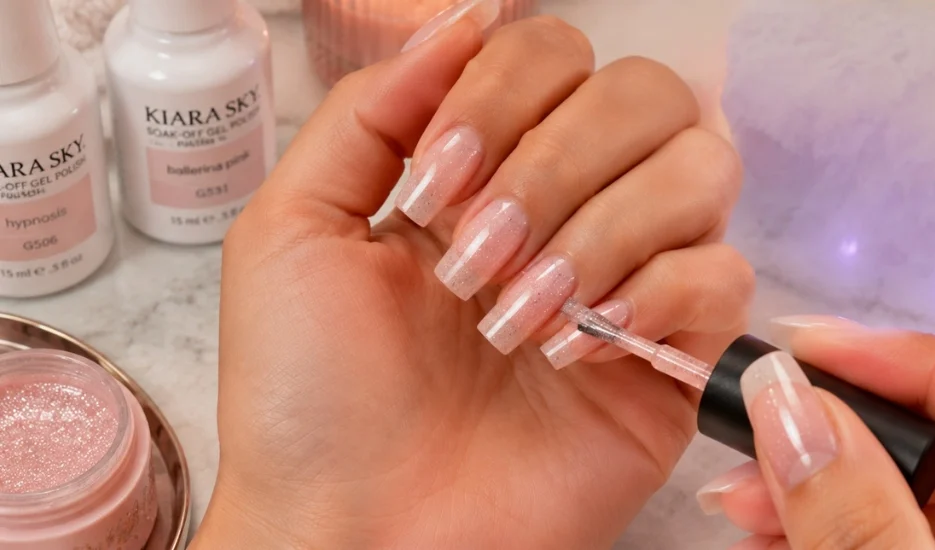
For the base color, use Hypnosis by Kiara Sky.
The subtle glitter in this shade makes it perfect for Halloween designs.
Apply two coats for full coverage.
Then add one coat of Ballerina Pink by Pink Gellac to create a soft sheer pink finish.
Create The Cute Spooky Halloween Design
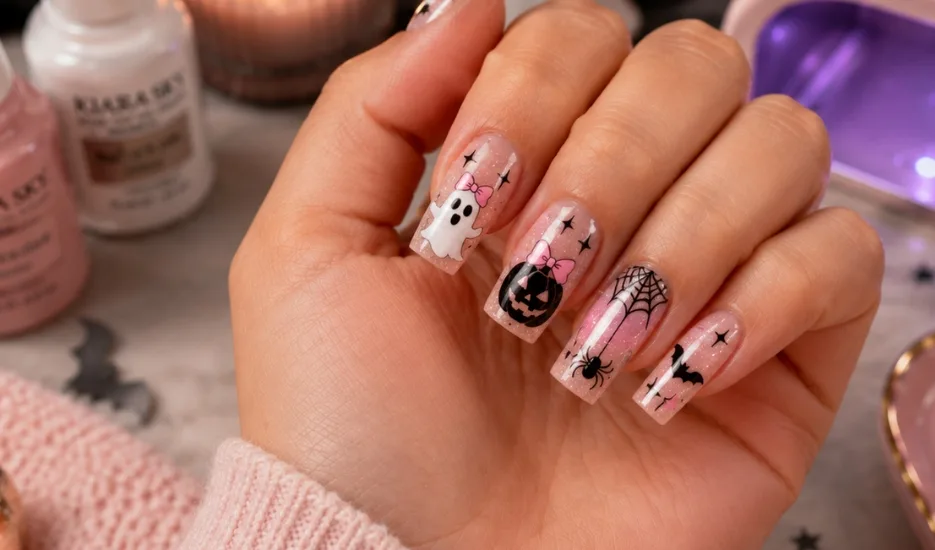
For the nail art, use pink, white, and black nail art gels.
These colors work perfectly for creating a girly Halloween look.
If this is your first time creating detailed nail art, take your time and enjoy the process.
There is no need to rush.
If you feel overwhelmed, simply cure your design and take a short break before continuing.
Remember that these nails can last up to five weeks, so the extra time and patience are completely worth it.
At the end, you’ll have beautiful Halloween nails and plenty of compliments.
Seal Everything With A Non-Wipe Top Coat
The final design is sealed using a non-wipe top coat.
This type of top coat is beginner-friendly because it leaves no sticky layer after curing.
Once cured, the manicure is completely finished and ready to wear.
Finish With Cuticle Oil
Nail care always comes first.
The last step is applying cuticle oil to nourish the skin and restore moisture after the manicure process.
Massaging the oil into the cuticles helps keep the nails healthy and looking beautiful.
Cute Halloween Nails Perfect For Spooky Season
These cute Halloween Gel X nails are the perfect combination of spooky and girly.
The design is easy to recreate, beginner-friendly, and requires no drill at all.
With proper preparation and application, the nails can last for up to five weeks, making all the time and effort completely worthwhile.
If you’ve been looking for fun Halloween Gel X Nails that are both cute and easy to do at home, this design is definitely worth trying.