
Reuse Gel X Nails
Today I’m going to show you how to reuse your Gel X nails at home and save so much time and money at the salon.
This process is called a refill.
Instead of removing everything and starting over, you remove the color or design and fill in the growth gap, giving your nails a fresh new look.
It’s perfect if you want to change your design after a week or two, up to three weeks max.
If you want to learn how to do a seamless Gel X refill at home, keep on reading.
Remove The Old Design
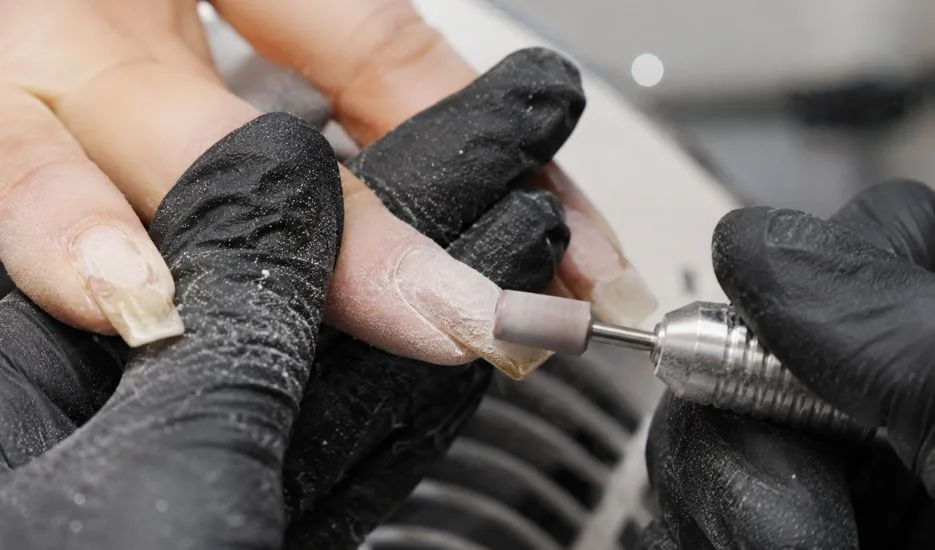
The first step is removing the existing design.
Here, a nail drill is used, but if you don’t have one, you can carefully file down the product until you reach the Gel X nail tips.
Be very gentle during this process.
It’s also a good idea to wear a mask to cover your nose and mouth because filing creates a lot of dust.
Once you can see the clear Gel X nails underneath, you’re ready to move on to preparation.
Prepare The Nails
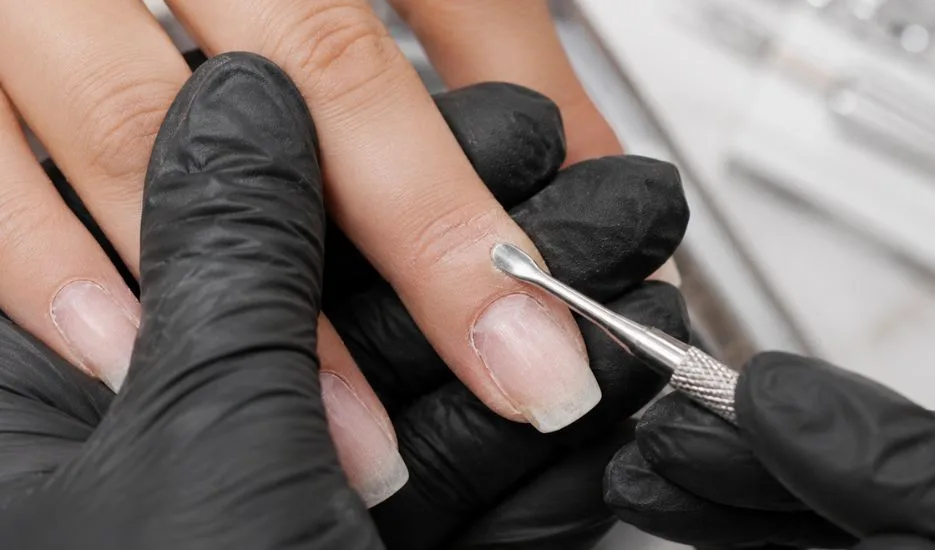
Preparation starts with pushing back the cuticles.
Use a cuticle remover to soften them first.
Once softened, gently push them back and clean around the cuticle area if needed.
Proper preparation helps create a smooth and clean surface before applying new products.
Dehydrate The Nail Surface
Before applying any gel products, use a pH Bond.
This acts as a dehydrator and helps remove any oils from the nail surface.
An oil-free surface helps create better adhesion for the products applied afterward.
Fill The Growth Gap
- For the refill process, apply a base coat and focus on the growth gap area.
- Concentrate on blending the natural nail growth with the Gel X nail tip.
- The goal is to make the natural nail and the extension appear as one seamless surface again.
A smooth transition helps prevent lifting and creates a more natural look.
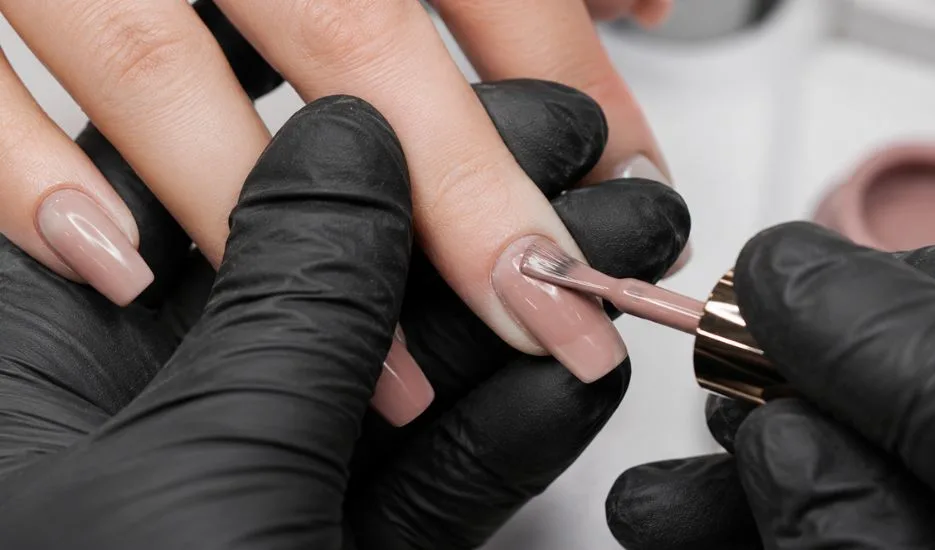
Apply The Base Color
For the base color, use a soft nude shade.
A nude base works beautifully with many different skin tones and creates a clean foundation for nail art.
Apply the color evenly and cure between coats as needed.
Create Brown Ombre French Tips
Now it’s time for the French tips.
- Using brown and nude shades, create an ombre effect across the nails.
- Blend the colors softly to achieve a smooth transition.
- This combination creates a warm and elegant look that works beautifully during the colder months.
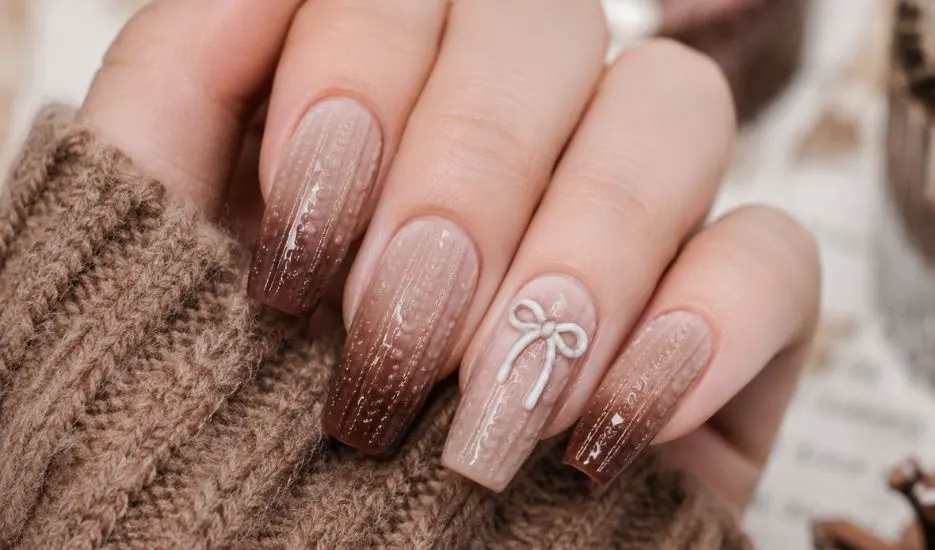
Create The Sweater Nail Effect
To create the sweater effect, you’ll need clear acrylic powder.
Start by drawing the sweater pattern on the nail. While the design is still wet, immediately coat it with clear acrylic powder.
Once coated, flash cure right away. Work one nail at a time and repeat the process.
After all nails are finished, complete a full cure in the larger lamp.
This technique creates the textured sweater effect that gives the nails a cozy seasonal look.
Finish With Cuticle Oil
The final step is cuticle oil.
- Apply it around the nails and gently massage it in.
- This helps nourish the cuticles and restore moisture after the refill process.
- It also leaves the manicure looking fresh and healthy.
Why Gel X Refills Are Worth Trying
A Gel X refill is a great way to refresh your manicure without removing the entire nail set.
By removing the old design, filling the growth gap, and creating a new look, you can save both time and money while keeping your nails looking beautiful.
This cozy brown ombre sweater nail design is perfect for the season and proves that a simple refill can make your Gel X nails look brand new again.
[ Looking for a Unique Summer Nail Design ]